Tuesday, June 19, 2012

Cool Cukes: 7 Minute Summer in a Jar

The perfect mix of sweet, tangy, little bit fiery, and fresh. The stuff my Nanny (read: grandma) always had in the fridge in summer as soon as the cucumbers were ripe in her Tennessee garden. My version is sweeter than it is tangy and has a spicy little bite from hot peppers. I use it as a topper for salads, a side dish at almost every meal, and on sandwiches all summer..except maybe PB&Js. This week the Farmer's Market yielded golden cucumbers and new red onions which made the wonderfully colorful jar on the right. And within 24 hrs it had a lovely pink hue from those onions.

**I originally posted this recipe on my Daily*Dishin blog and it appeared in the Food Network Summerfest as well. I have altered the recipe to replace the sugar with Splenda and was so surprised at how good it tasted that I decided to include it here, especially since I am never without a jar in my fridge.**

I look for smallish cucumbers usually, but this long english cucumber (like the kind shrinkwrapped in the store) makes a really good choice because the seedy part is minimal and never mushy. The golden cukes turned out to be fairly green inside and quite seedy so I scooped that  part with a spoon.

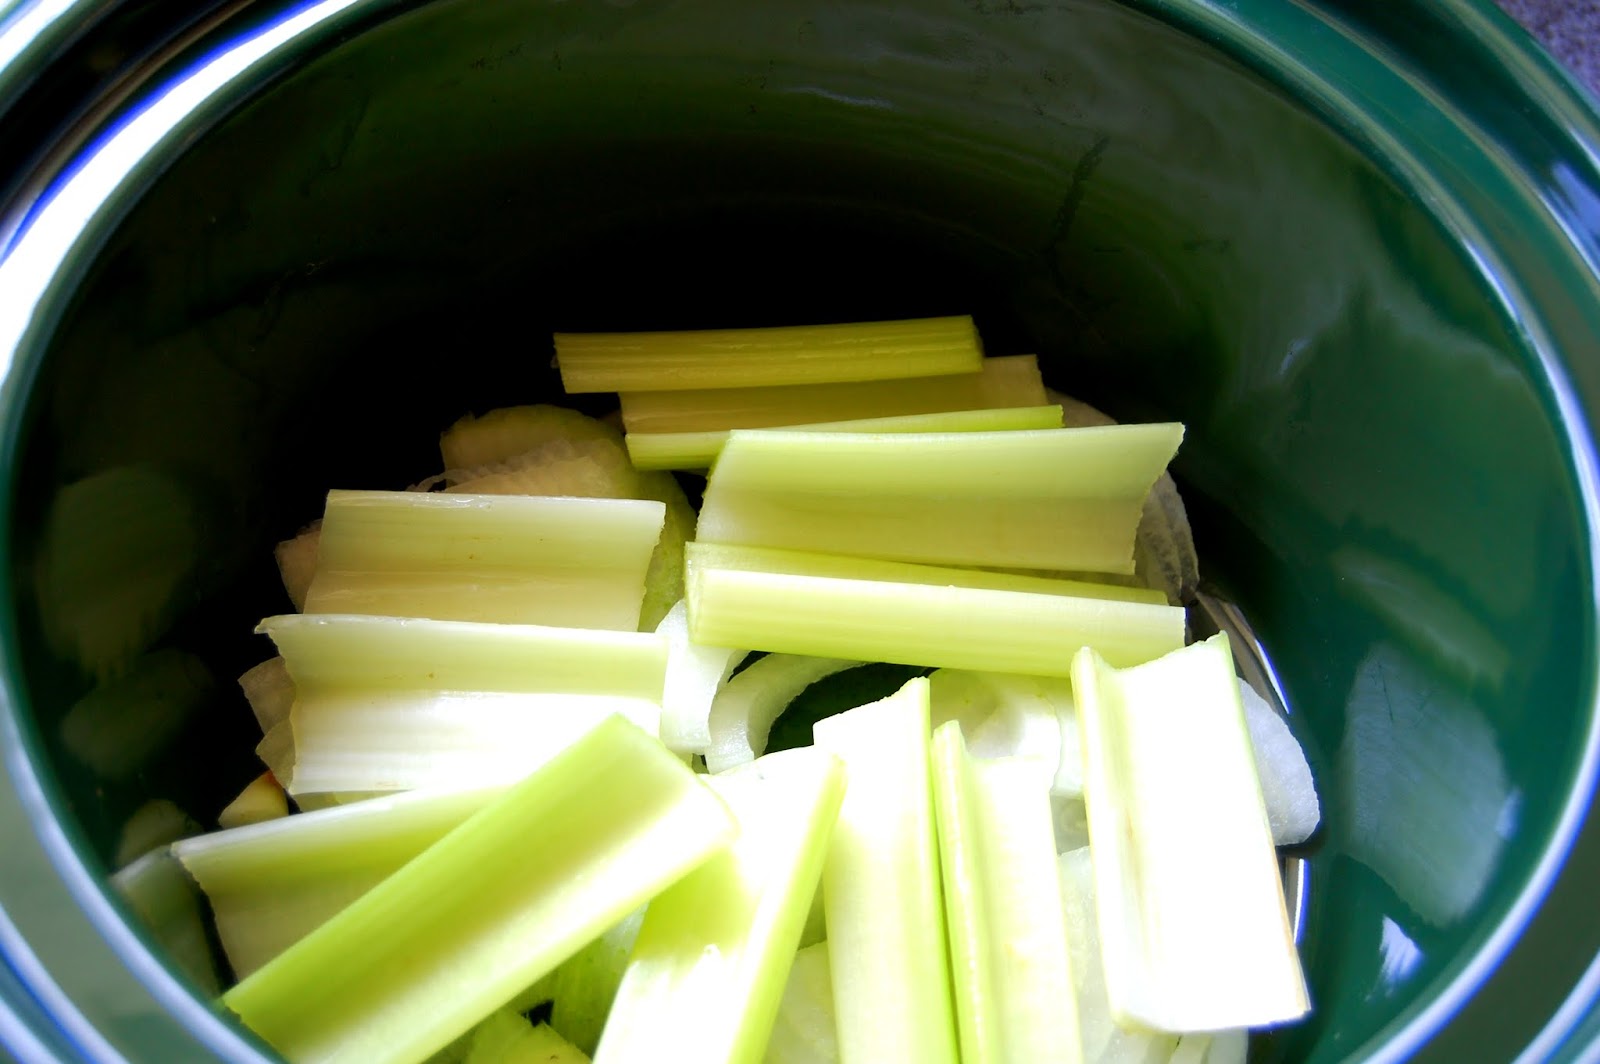
I think these are best when cut very thin. A mandoline makes quick work of this step. I use my über cheap, ancient Ronco slicer-dicer gadget (set to #2, for anyone out there who is lucky enough to have one of these little baby dinosaurs lying around). Go ahead and layer cucumbers alternating with onions in the jar before pouring on the liquid.  Mix 1/4 cup Splenda and 1/4 cup water with 3/4 cup vinegar, good pinch of salt and pepper. I whisk this together but it really doesn't matter whether the sugar dissolves now or after you pour into the jar. It will all work out.
Ratio is 3 times as much vinegar as sugar.


Slowly pour the liquid until it is almost to the top. The cucumbers will release more juice and top it off within a few hours. For the yellow cukes I used Champagne vinegar. You can try various others, but plain white is the standby.
I add the peppers last because they're easiest to get into place after the liquid. Slip a butter knife into the jar to gently press back the vegetables and make room to slide the peppers in all around. I know they're beautiful, but don't get too carried away unless you like it HOT! Because it's still a little early for fresh red peppers I used these dried Ancho Chiles which turn bright red again in the jar.


I added one more flavor element to this jar. It's a garlic scape, the top part of the growing garlic that is chopped off early in the season. These keep for ages in the fridge and I still had some from weeks ago. They impart a nice mild garlic flavor and look kind of interesting in the jar and not snakey at all, hmm. Some fresh dill goes in last right on the top. I only had a little to add this week, but the more the merrier, if you have plenty. Give these a day to flavor up and have at 'em! They only get better and better as the days go by, not that you can expect them to last very long.

If you're following the Take Shape For Life program, you may find as I did that these are a great appetite suppressant for some reason. I often have a small dish (maybe 1/4 cup - so only half a veg serving) if dinner is running late or I'm hungry and in the midst of preparing a big meal.
 
THE SHOPPING LIST
4-6 small cucumbers
1 vidalia onion
fresh dill
Splenda
vinegar

    2 Minute French Green Beans

    When dinner is ready and you still need a green veg on the side, this is your dish!

    I try to keep these fresh french green beans on hand all the time. They're quick, easy, and delicious with or without any extras. Most groceries stock them near the fresh bagged vegetables, often with the type that can be steamed in the bag. And that's exactly what you can do with these, we just usually need a serving or two instead of an entire bag.


    Although these are labeled as "trimmed" (and I'm putting that in quotes because they're not), it's only the stem end that's trimmed and I like to get rid of the other end too. The easiest way to do this is to trim up a handful at a time with kitchen shears. And if you're not using kitchen shears, try a pair! get the type that come apart in the middle so you can throw them in the dishwasher. I have at least 4 pair in my kitchen because I use them constantly to cut up raw meats, trim vegetables, open bags, clip flower stems...you'll find endless uses for these.


    A quick way to judge how to end up with a single 1/2 cup serving after they're cut is like this. That's about a 2-1/2" diameter handful.


    And don't put down your shears yet! Cut through the whole handful of beans in one or two inch lengths for bite size pieces.

    Now into the bowl, top it with stretch wrap and give it 2 minutes* in the wave. They'll be perfectly done, no need for water or anything else. OK, spritz with a bit of I Can't Believe it's Not Butter if you're not the vegetable purist!


    *For 3-4 Servings they'll need about 4 minutes wave time.

    Monday, June 11, 2012

    Southern Yellow Squash

    There's something wonderful that happens to plain old yellow squash when you give it a slow saute and a good bit of pepper. I've said before that every southern cook knows the secret of finely ground black pepper. Some of the best whole baked chicken I've ever eaten is simply cooked quite high with lots of pepper and salt, basted in its own juices. But that's another blogpost, another day...let us return to the squash at hand.

    For two to three smallish squashes I use 1/2 a vidalia onion, sliced thinly, not diced. As for the squash, they need to be fairly thin too and I usually do mine with the Ronco slice-o-matic but feel free to wield a knife or pull out your own mandoline slicer.

    When you have an array of lovely yellow disks like this, you're ready to start.

    Use a non-stick skillet over low-med heat and hit it with a light spray of Pam or just a bit of olive oil. Go ahead and give it a good salt and peppering now since the salt will help the vegetables give up moisture promptly and keep them from sticking also. This little trick allows you to use minimal to zero cooking fats. Give it a stir every 5-6 minutes just to be sure and in about 15-20 minutes they should look like this:


    If you've cut a thicker slice it may take up to 30 minutes for a nice finish. When they are done they should be nicely browned and melt-in-your-mouth tender!


    **For the Take Shape for Life lean eaters out there, you can skip the olive oil completely if you're not having the leanest meat for dinner or don't have fat servings left for the day. The squash will still be delish!

    Wednesday, June 6, 2012

    Fast Prep-Slow Cook Buffalo Chicken


    (Printable Recipe)
    This is the all the flavor of buffalo style hot wings in a nice lean chicken breast. In less than 10 minutes you can have this completely ready to cook in the crockpot and just walk away. I like to make this on a busy day and dinner will be instantly ready if I add a cup of Easy and Tasty Roasted Vegetables from a big batch made earlier in the week. This is also delicious as a lean protein addition to green salad and you can skip the dressing for sure if you add a little of the spicy cooking juices.
    Besides a 2.5 to 4 lb. bag of frozen chicken, this is all you need: one whole bottle of Frank's Red Hot Original Sauce, 1/2 an Onion, 3/4 stalks of celery and one packet of Hidden Valley Original Ranch seasoning.


    While you're getting everything else ready, put the chicken breasts (or tenders, as I have here) in a colander and run cool water over all. We're not trying to thaw them, just rinse off any ice crystals or ice coating on them to keep extra liquid out of the crockpot. I'm always suspicious of ice crystals carrying a "freezer flavor" too. But maybe your freezer has a fabulous flavor and you want to keep your crystals, feel free to do so.


     Now for the flavors that will give us that hot wing feeling: layer the sliced onion and celery on the bottom of the crockpot.

    In a measuring cup, whisk together all of the hot sauce (yes, an entire bottle) with the packet of ranch seasoning.


     Add the chicken, still frozen is just fine, and pour the dressing over all. Lots more liquid will be made as it cooks. Cover and cook about 4 hours on high or 6 hours on Medium/Low. I you need to cook it longer because you'll be gone, use large chicken breasts which take longer to cook before they start getting tough. These little chicken tenders really get done in the minimum time.

    If you're on the Take Shape for Life Plan, you could also have a small portion of this chicken for lunch, shredded as a spicy chicken salad. Add some chopped celery and just a little minced onion and 1 Tbs of a low carb ranch dressing or Miracle Whip Light and serve with Medifast Multi-Grain or Garden Veg Snack Crackers. We get at least 3 or 4 different meals from one batch of this chicken.

    THE SHOPPING LIST
     2/5-3 lb. bag of frozen chicken breasts or tenders
    12 oz bottle of  Frank's Red Hot Original Sauce
    1/2 Onion,
    3/4 stalks of celery
    One packet of Hidden Valley Original Ranch seasoning

    Tuesday, June 5, 2012

    Mongolian Beef Too Good to Be Legal

    (Printable Recipe)
    If you love PF Chang's Mongolian Beef, you're going to love the perfect taste of this super lean, carb light version. The original is fantastic but requires a good bit of brown sugar to get it there. This recipe avoids that while keeping all the flavor. Don't be lured by the brown sugar version of Splenda - it's just brown sugar with Splenda mixed in and that just doesn't work if you're trying to eliminate sugar altogether! However, brown sugar is made with white sugar and molasses, so using one small tsp of molasses goes a long way toward replacing that flavor element in this dish. Yes, it is a natural sweetener but nothing like refined sugar. Molasses is one of the few sweet things that is good for your body. It has a low glycemic index, it's loaded with beneficial minerals, and it actually helps your body absorb calcium. Enough lesson time. Let's cook.

    We're going to start and end with a marinade. So to begin, pour up a cup of Soy Sauce and 1/2 cup water. Add a couple of pressed garlic cloves, the tsp or 2 of molasses, 2 TBS of plain Splenda, and fine grate/rasp about 2" of fresh peeled ginger. I keep fresh ginger in the freezer so it's always on hand and can easily be grated frozen. The addition of 1 Tbs Mirin (rice wine) makes it even better. Look for it near the soy sauce and Asian brand products in any grocery. We're going to use half this mixture to marinate a flank steak and half of it we'll save for the finishing sauce. Don't pour all of it on the flank steak intending to strain it off later because you'll be surprised how much the meat absorbs!

    Now, the trick to cutting flank steak the right way, across the grain, and getting it really thin is this: put it in the freezer until it just begins to get stiff, not hard frozen or you'll never get a knife through it. If you have an electric knife this job will fly!

    Lay the knife at an angle across the grain, cut about 1/4" thin, then cut those pieces into squares about 2x2, so it will cook fast enough without toughening up as it browns. Now marinate all those cut pieces in a plastic bag for a couple of hours.


    When ready to cook I spray a big skillet with Pam or just barely coat with olive oil. Grab a handful of the beef, squeeze out the marinade, then brown the meat on medium high heat with space in between every piece so they won't just steam in the released juices. That brown coating is so much of the flavor in this recipe. I flip every piece separately to get a good brown but watch closely and take them out just as soon as they're cooked through. This is the closest way to imitate wok fried beef with oil, without using the oil.
    By the second or third pan full you can see how nicely the dark fond is developing on the bottom of the pan. Adjust the heat a bit lower if this starts to darken too much. And each time you add a piece of meat and it immediately releases some juices, push it around to let those juices bring up the fond to brown the meat. Flavor, flavor, flavor!

    As soon as the last meat comes out of the skillet, pour in the remaining  marinade and 1/2 cup water and bubble it on high, scraping the bottom well. Add a big handful of green onion tops now. (Use one bunch of green onions and cut the green tops into 2-3" pieces. Save the white part for another recipe.) Let those soften up as the sauce boils down for maybe 4-5 minutes. I like to thicken the sauce for the last few minutes with a spoonful of cornstarch dissolved in about 1/4 c of water. Pour this over the beef and prepare to swoon!

    THE SHOPPING LIST
    1 Flank Steak
    1 cup Soy Sauce

    2 Cloves Garlic

    2 tsp molasses

    2" fresh peeled ginger

    2 Tbs Splenda

    1 Tbs Mirin (rice wine)

    1 bunch green onions (scallions)

    Monday, June 4, 2012

    Naked Taco Salad


    Taco Salad doesn't have to be the 770 calorie/10 Fat Gram version you'll find at Taco Bell - and that's the "light" one! This lean and green Taco Salad is loaded with flavor and crunchy with red pepper strips. Topping it with a good brand of fresh salsa can help you skip the sour cream or other dressing altogether and not really miss it. Naked of dressing you can really appreciate the fresh veg flavors. And, in spite of my awkward syntax,  I'm talking about the salad now, not you being naked of dressing, that is.    
    Can you tell we eat a lot of tacos? To heck with those little packets of seasoning when you can buy it in the jumbo shaker along with salsa by the quart.  
    Pack it in for a good full 1 cup serving.
    Now, top with some fresh red bell pepper slices or dice, taco meat, and add your favorite salsa. If you've never tried fresh salsa instead of salsa in the jar, you'll be amazed at how much better the flavor can be. Many supermarkets sell it near the produce.

    *If you're following the Take Shape for Life program this is a great way to get one of your three vegetables for lunch along with 1/4-1/2 of your lean protein allowance. That still leaves some lean meat and 2 vegetables for dinner, which is how we enjoy splitting it up.